


Solar Battery Installation in Australia: What Homeowners Need to Know in 2026
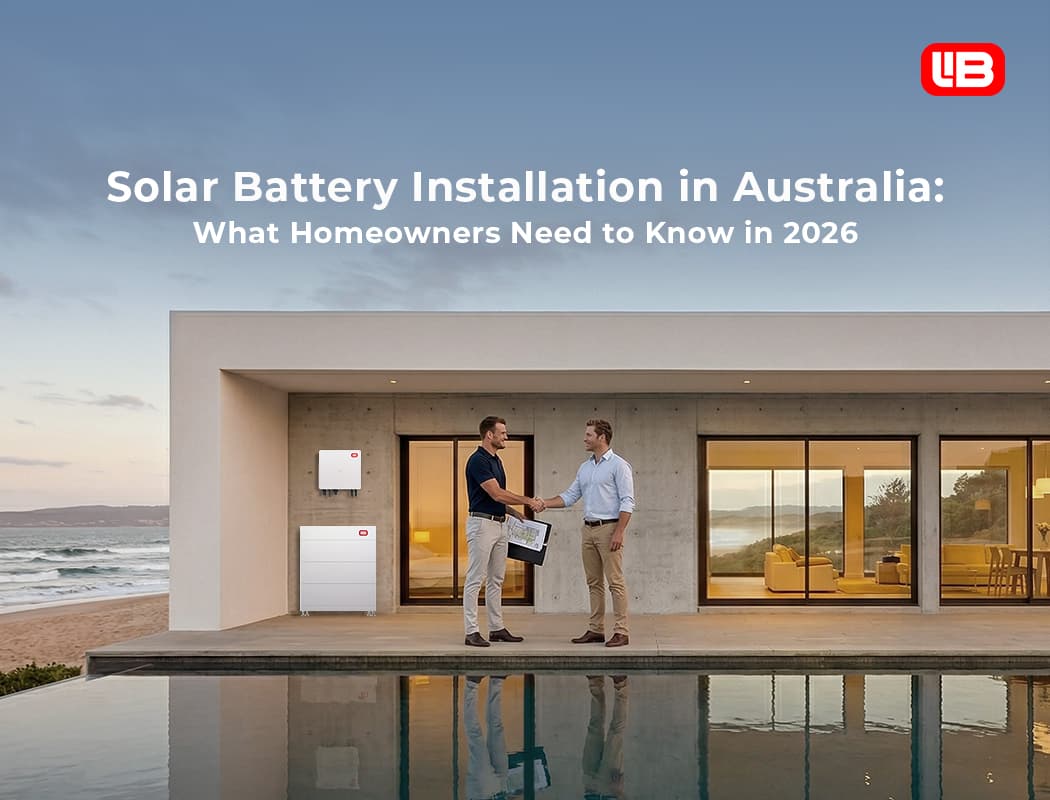
Embracing a solar battery is an exciting milestone for any Australian homeowner looking to gain energy independence and long-term financial security. Far more than just a technical addition, it represents a commitment to a smarter, self-sufficient lifestyle. This high-performance investment is designed to provide consistent reliability for your home, ensuring that you can store your own clean energy and use it whenever you need it most.
To make this transition seamless, Solar battery installation is supported by a robust framework of excellence and safety. By adhering to the high standards set by the Clean Energy Council, accredited professionals ensure that every system is optimized for peak performance and longevity.
The Australian Government plays a significant role in supporting renewable energy initiatives, including expanding and adjusting government-funded programs like the Cheaper Home Batteries Program and updating renewable energy regulations to encourage the adoption of solar battery systems.
The good news? When done correctly, the process is faster, cleaner, and less disruptive than most homeowners expect. Most installations are wrapped up in a single day.
At EnergyLIB, we are Australia’s first home energy brand designed exclusively for the home. The LIB HomeStack is built with installation simplicity in mind. Stackable, plug-and-play, with a self-levelling base for varied site conditions. This guide walks you through exactly what happens during a solar battery installation, what to look for in an installer, and how to make sure your new battery storage system delivers everything it should.
Solar Battery Installation: The Quick Version
- Who installs it: An accredited battery installer through Solar Accreditation Australia (SAA), with electrical work by a licensed electrician.
- How long it takes: Typically one day for most home installations.
- What's involved: Site assessment, system design, hardware install, electrical connection, testing, commissioning, paperwork.
- Federal rebate: Cheaper Home Batteries Program offers around 30% off CEC approved batteries (until 1 May 2026, then tapers).
- Standards: Must comply with Australian Standards and state or territory electrical safety regulators.
Step 1: Site Assessment and Battery Sizing
Every solar battery installation starts with an assessment of your home, your existing solar system, and your household’s energy use. The installer will look at:
- Your current rooftop solar panels: system size, age, condition, and existing inverter.
- Your electricity bills: average daily energy consumption, peak demand patterns, and time-of-use rates.
- Where the battery will go: indoor location, garage, or outdoor wall. Ventilation, ground stability, and accessibility all matter.
- Your goals: are you focused on bill savings, backup power during a power outage, off grid living, or all three?
This is also when battery sizing happens. Battery capacity is measured in kilowatt hours (kWh), and for most Australian households, battery storage systems typically range from 10kWh to 50kWh depending on daily energy consumption. Too small and you’ll run out of stored energy overnight. Too large and you’ve paid for capacity you’ll never use.
Battery storage systems should be sized to match your household's energy needs for optimal performance, ensuring you have enough backup power during outages and efficient use of your solar system.
LIB HomeStack Sizing at a Glance
- LIB HomeStack I (16.08 kWh): Suits households of 2 to 4 people
- LIB HomeStack II (32.15 kWh): Ideal for larger households, EV charging, or extended backup power.
- LIB HomeStack III (48.23 kWh): Designed for large properties, off grid aspirations, and maximum energy independence.
| Spec | LIB HomeStack I | LIB HomeStack II | LIB HomeStack III |
|---|---|---|---|
| Usable Capacity | 16.08 kWh | 32.15 kWh | 48.23 kWh |
| Depth of Discharge | 100% | 100% | 100% |
| Rated DC Power | 8 kW | 12 kW | 12 kW |
| Cycle Life | 8,000+ | 8,000+ | 8,000+ |
| IP Rating | IP65 | IP65 | IP65 |
| Installation Method | Stack | Stack | Stack |
| Warranty | 10 years | 10 years | 10 years |
| CEC Approved | Yes | Yes | Yes |
Step 2: System Design and Quoting
Once the site assessment is done, the installer prepares a detailed design and quote. This should cover:
- The recommended battery model and size.
- Whether your existing solar inverter will work, or if a new hybrid inverter is needed.
- How the system will integrate with your existing solar system (AC coupling vs hybrid inverter). Solar and battery systems can be AC-coupled, where the battery has its own inverter and is ideal for retrofitting to existing solar setups, or DC-coupled, where the battery shares an inverter with the solar panels and is typically used in new installations.
- Total upfront cost, including hardware, installation, and any electrical work.
- Federal Cheaper Home Batteries Program discount, applied as a point-of-sale reduction via small scale technology certificates (STCs).
- Any state rebates or VPP incentives you qualify for.
- Estimated annual bill savings and payback period.
- Details about your electricity plan, including any promotional offers, plan features, or eligibility criteria that may impact your solar battery installation.
Get quotes from at least two or three accredited installers. Compare not just the price, but the equipment, warranty terms, and what’s actually included.
After reviewing rebates and incentives, seek advice from your state or territory government to understand eligibility for different electricity plans and to ensure your solar and battery system is compatible with available support schemes.
Installer Checklist: What to Look For
- Solar Accreditation Australia (SAA) accreditation: Mandatory for any battery installation eligible for the federal rebate.
- Licensed electrician: All electrical wiring must be done by a licensed professional in your state or territory.
- Clean Energy Council membership: Indicates the installer follows industry best practice.
- CEC approved products only: The battery system must be on the CEC approved list to qualify for the federal rebate.
- Track record: Ask for references, recent installs, and reviews from previous customers.
- Written warranty: Workmanship and product warranties should both be in writing before you sign.
Step 3: Pre-Installation Approvals
Before installation day, your installer handles the necessary approvals and paperwork:
- Grid connection approval from your local electricity distribution network service provider (DNSP). This can take a few days to a few weeks depending on your location and system size.
- Compliance with Australian Standards and state or territory electrical safety regulators.
- STC paperwork for the federal Cheaper Home Batteries Program.
- If applicable, registration with virtual power plant (VPP) programs.
In urban areas (Ausgrid, Endeavour Energy, Energex, etc.), grid connection approvals are often automated and turned around in a few days. In regional areas served by Essential Energy or similar, the process can take longer. Your installer will manage this for you, but it's worth understanding the timeline so you can plan around it.
Step 4: Installation Day
Most home solar battery installations are completed in half a day. Here's what typically happens:
Equipment Delivery and Setup
The installer arrives with the battery, any new inverter or wiring components, and tools. The work area is prepared, and the existing solar system is temporarily isolated for safety.
Installation locations are selected for safety reasons, following Australian regulations that require at least 600mm of clearance on either side and 900mm above the battery to comply with fire safety standards.
Battery Installation
The battery is positioned in its installation location. For the LIB HomeStack, the self-levelling base allows for stable placement on uneven ground or inside garages. The stackable design means each battery module connects without complex wiring, dramatically reducing installation time and complexity.
Batteries should ideally be installed in a cool, dry location, such as a garage, to prevent overheating, which is a major factor that can shorten the lifespan of lithium-ion batteries. The most common types of solar batteries for home energy storage are lithium-ion batteries, lead-acid batteries, and flow batteries.
Lithium-ion batteries are known for their longevity and efficiency, typically lasting longer than lead-acid batteries, which have a shorter lifespan and lower cycle count. Lead-acid batteries are best suited for outdoor installation to mitigate safety concerns, while flow batteries represent an emerging technology offering alternative options for household energy storage and integration with inverters.
If multiple modules are being stacked (e.g. moving from a LIB HomeStack I to a LIB HomeStack III configuration), they’re connected in sequence. The IP65-rated enclosure means the unit can be placed indoors or outdoors depending on what suits the home.
Electrical Connection
A licensed electrician handles all electrical work. This includes:
- Connecting the battery to the inverter (either an existing inverter via AC coupling, or a new hybrid inverter). Solar panels generate DC electricity, which is stored in the battery and then converted to AC electricity by the inverter for household use. This process ensures that your appliances receive the AC electricity they require.
- Wiring the battery into your home’s switchboard. Batteries work with solar panels and inverters to provide power to your home, optimizing energy storage and usage.
- Setting up any backup power circuits if the system is configured for blackout protection. Battery storage systems can provide backup power during outages, ensuring essential appliances like refrigerators and lights continue to operate. However, the amount of power and duration can vary depending on the system’s size and type.
- Installing monitoring equipment so you can track the system from an app.
Testing and Commissioning
Once everything is wired in, the installer powers up the system and runs through a series of tests:
- Battery charge and discharge function.
- Communication between the battery and inverter.
- Backup power switchover (if configured).
- Monitoring app setup and homeowner walkthrough.
Walkthrough and Handover
Before the installer leaves, they'll walk you through how the system works, how to read the monitoring app, what to do during a blackout, and any maintenance requirements. You'll also receive all your paperwork: warranty documentation, compliance certificates, and STC claim confirmation.
Step 5: After Installation
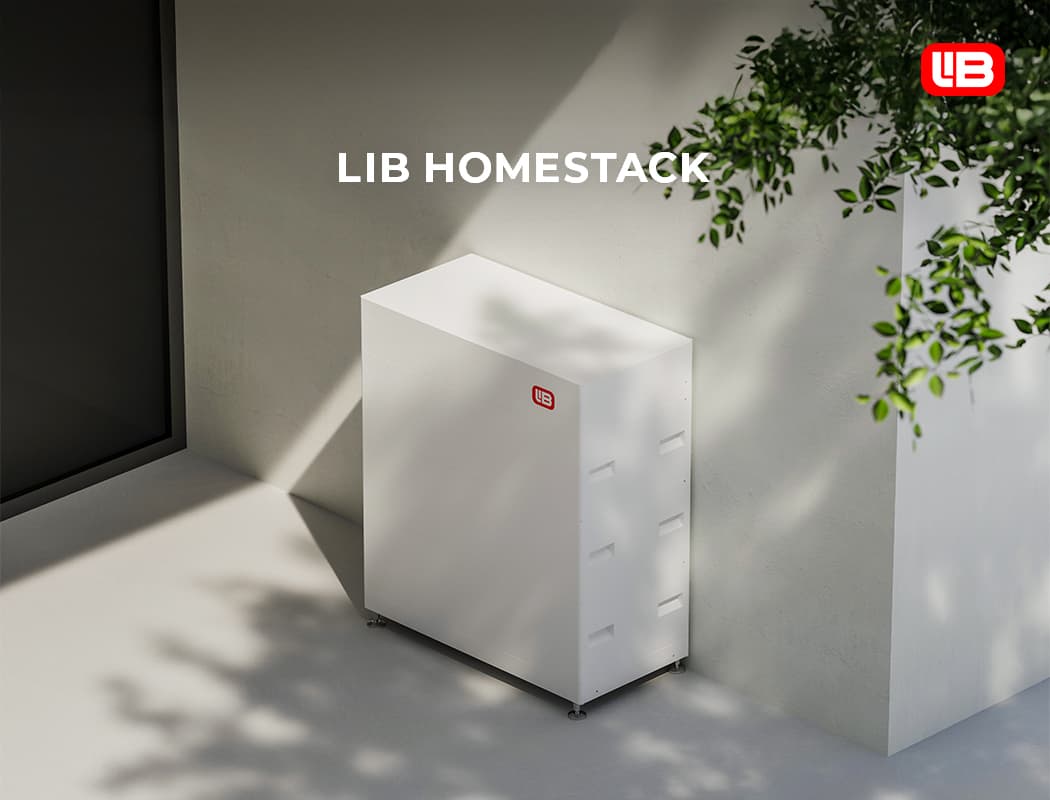
Once your battery is up and running, there's not a lot for you to do. Modern lithium ion battery systems are designed to be self-managing. The smart battery management system handles charging, discharging, and grid interaction automatically.
Things you should do periodically:
- Check the monitoring app to make sure the system is performing as expected.
- Update firmware when notified.
- Note any unusual behaviour and contact your installer if needed.
- Review your electricity bills to see your bill savings and confirm the system is delivering ROI.
Things you don't need to do:
- Manually charge or discharge the battery.
- Worry about cycling patterns. The LIB HomeStack handles 100% depth of discharge automatically.
- Top up the battery (it's not a car battery, it doesn't need water).
Important: Federal Rebate Changes from 1 May 2026
- Before 1 May 2026: Full STC factor applies. Maximum rebate available across all battery sizes up to 50 kWh.
- From 1 May 2026: STC factor reduces. Tapering applies: 0 to 14 kWh at 100%, 14 to 28 kWh at 60%, 28 to 50 kWh at 15%.
- Impact on installation timing: Installations completed before 1 May lock in the higher rebate. Quotes, approvals, and install bookings all take time, so book early.
- STC factor decreases twice yearly: After May 2026, the rebate value will continue to decline through to 2030.
Choosing the Right Installer
Your installer matters more than most people realise. A perfectly designed battery installed badly will underperform for years. A slightly less premium battery installed properly will outlast its warranty period.
Choosing a qualified solar installer is essential for ensuring your home battery is installed safely and integrated correctly with other home energy systems, such as EV charging.
Red Flags to Watch For
- No SAA accreditation. Walk away. The installer must be accredited for the federal rebate to apply.
- Cash-only deals or refusal to provide written quotes.
- Aggressive door-to-door sales tactics or high-pressure closes.
- No physical address or trading history.
- Quotes that seem too cheap to be true. Quality installers cost what they cost for good reasons.
- Vague answers about which products they're installing or whether they're CEC approved.
Green Flags
- Clear, itemised written quote with product model numbers.
- Willingness to explain the system in plain English.
- References from recent customers in your area.
- Manufacturer-trained installers (e.g. trained on the LIB HomeStack).
- Detailed warranty information for both products and workmanship.
Why the LIB HomeStack Is Built for Faster, Cleaner Installation
Designed for Installation, Not Just Performance
- Stackable, plug-and-play design. Battery modules connect without complex wiring. Each unit stacks on the previous.
- Self-levelling base. Stable placement across uneven ground and varied installation conditions, including older homes with sloped garages.
- IP65 rated. Waterproof and dustproof enclosure suitable for indoor or outdoor installation. No special enclosure required.
- 48V low-voltage system. Simpler and safer to wire than high-voltage alternatives.
- Natural convection cooling. No fans, no noise, no maintenance. Quieter than a fridge.
- CEC approved. All three models eligible for the Cheaper Home Batteries Program rebate.
- Complete system with the LIB inverter. Designed to work together as a single integrated installation, reducing compatibility issues.
FAQs
How long does solar battery installation take?
Most home solar battery installations are completed in half a day. The process includes hardware setup, electrical connection by a licensed electrician, testing, commissioning, and a homeowner walkthrough. Larger systems or complex installations involving switchboard upgrades may take longer. Pre-installation grid connection approvals can add days or weeks before the install date.
Can I install a solar battery on my existing solar system?
Yes, in most cases. A battery can be added to an existing rooftop solar system through AC coupling (with its own battery inverter) or by upgrading to a single hybrid inverter that handles both solar and battery. The LIB HomeStack pairs with the LIB inverter as a complete integrated system. Speak with an accredited installer to assess compatibility with your current setup.
Who is qualified to install a solar battery in Australia?
Solar battery installation in Australia must be carried out by an accredited battery installer through Solar Accreditation Australia (SAA). All electrical wiring must be performed by a licensed electrician in your state or territory. The installation must comply with Australian Standards and your local electrical safety regulators. Only CEC approved batteries qualify for the federal Cheaper Home Batteries Program rebate.
How much does solar battery installation cost in Australia?
Installed costs in 2026 typically range from $5,000 to $15,000 for a 16 kWh battery, $10,000 to $26,000 for a 32 kWh system, and $20,000 to $36,000 for a 48 kWh system. After the federal Cheaper Home Batteries Program discount (around $300 to $340 per usable kWh until 1 May 2026), the net upfront cost drops significantly. State rebates and VPP incentives may further reduce out-of-pocket costs.
Does a solar battery provide backup power during a blackout?
Yes, if the battery system is configured for backup power during installation. This is something to discuss with your installer before the install date, as it may require additional wiring to dedicated backup circuits. The LIB HomeStack, paired with the LIB inverter, supports backup power configurations to keep essential appliances or whole-home circuits running during a power outage.
Book Your LIB HomeStack Installation Today
Designed for Australian homes. Built for fast, clean installation. CEC approved and rebate eligible.
🏠 Australia's first home energy brand built exclusively for the home.
🔧 Stackable, plug-and-play design with self-levelling base. Faster, cleaner installation.
⚡ 100% DoD. Every kilowatt hour of capacity is usable energy.
🔒 Layered safety: circuit breakers, fire extinguishing, pressure relief, 48V low-voltage.
✨ IP65 rated. Suitable for indoor or outdoor installation.
✅ CEC approved. Eligible for the federal rebate, STCs, state programs, and VPP.